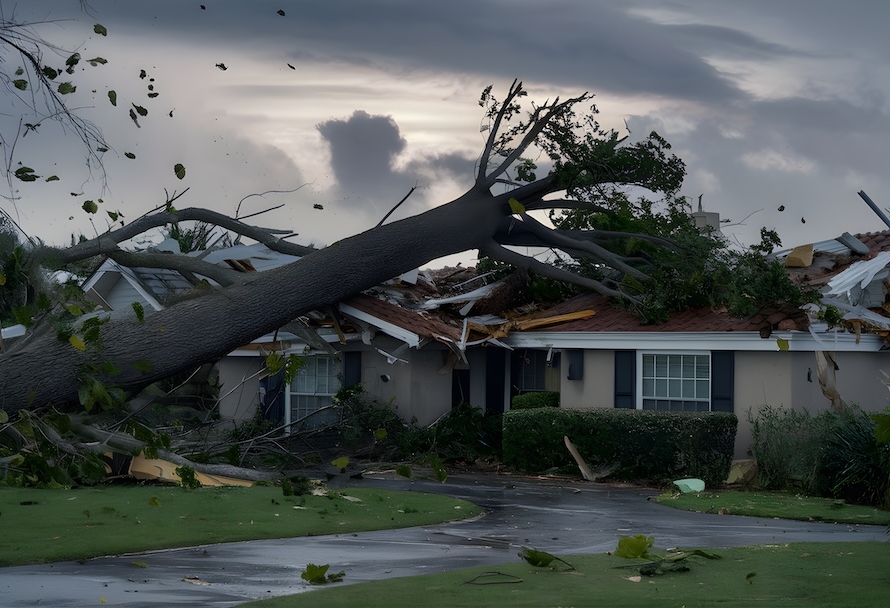
The Ultimate Guide to Documenting Property Damage for Insurance Claims After a Florida Storm
Florida storms can cause significant property damage, and proper documentation is crucial for a successful insurance claim. This comprehensive guide will provide you with expert advice on how to document property damage effectively, ensuring you meet the standards of Google’s EEAT (Expertise, Authoritativeness, and Trustworthiness).
Step 1: Prioritize Safety
Safety First:
- Before starting any documentation, ensure that your property is safe to enter. Avoid any areas that may be structurally unstable or pose other hazards.
- Wear protective gear such as gloves, boots, and helmets if necessary.
- If there is a risk of electrical hazards, turn off the main power supply or contact a professional for assistance.
Step 2: Conduct a Thorough Assessment
Initial Survey:
- Conduct a comprehensive survey of your property, including both the interior and exterior, as well as any outbuildings or additional structures like sheds, garages, and fences.
- Note visible damages such as broken windows, roof damage, water intrusion, and fallen trees or debris.
Step 3: Capture High-Quality Photographs
Photographic Evidence:
- Wide Shots: Take wide-angle photographs of each room and the exterior of your property to provide an overview of the damage.
- Close-ups: Capture close-up images of specific damage areas, such as shattered windows, roof damage, water stains, and mold growth.
- Multiple Angles: Photograph the damage from multiple angles to give a complete perspective.
- Before and After: If available, include “before” photos taken prior to the storm to highlight the extent of the damage.
- Date and Time Stamps: Ensure your camera or smartphone settings display the date and time on each photo for accurate documentation.
Expert Tip: Use a high-resolution camera or smartphone to ensure the photos are clear and detailed.
Step 4: Record Video Evidence
Video Documentation:
- Perform a video walkthrough of your property, narrating the extent and specifics of the damage as you go.
- Point out significant issues and describe the damage in detail, emphasizing areas that might not be as visible in photographs.
Expert Tip: Keep the video steady and ensure good lighting to clearly show the damage.
Step 5: Maintain a Detailed Damage Diary
Written Documentation:
- Keep a detailed written record of all damages and actions taken post-storm.
- Dates and Times: Record the date and time of the storm, when you first noticed the damage, and when you documented it.
- Detailed Descriptions: Write thorough descriptions of the damage, including specific areas affected and the extent of the damage.
- Temporary Repairs: Document any temporary repairs you make to prevent further damage, and keep receipts for any materials purchased.
Expert Tip: Use a notebook dedicated to this purpose or a digital document with regular backups.
Step 6: Collect Supporting Documentation
Additional Evidence:
- Insurance Policy: Have a copy of your insurance policy handy to refer to coverage details and requirements.
- Receipts: Collect receipts for any emergency repairs or expenses related to the storm damage.
- Estimates: Obtain repair estimates from licensed contractors to provide a clear picture of the costs involved.
Expert Tip: Organize these documents in a folder or binder for easy access and presentation to your insurance company.
Step 7: Notify Your Insurance Company
Claim Submission:
- Contact your insurance company as soon as possible to report the damage. Provide them with all the documentation you have gathered, including photographs, videos, written descriptions, and receipts.
- Follow the insurer’s instructions carefully and ask for clarification if needed.
Expert Tip: Keep a record of all communications with your insurance company, including the names of representatives you speak with and a summary of each conversation.
Step 8: Keep Copies of All Documentation
Backup Documentation:
- Make copies of all documents, photographs, and videos before submitting them to your insurance company. This ensures you have a backup in case anything is lost or disputed.
Expert Tip: Store digital copies in multiple locations, such as cloud storage and an external hard drive, for added security.
Step 9: Follow Up Diligently
Claim Monitoring:
- Stay in regular contact with your insurance adjuster and follow up on the status of your claim.
- Be prepared to provide additional documentation or clarification if requested.
- Document all follow-up communications and any new evidence or updates related to the damage and repairs.
Expert Tip: Set reminders to follow up at regular intervals to ensure your claim is progressing smoothly.
Additional Tips for Success
Pre-Storm Preparation:
- Home Inventory: Maintain an up-to-date inventory of your home’s contents, including photos and descriptions of valuable items.
- Insurance Review: Regularly review your insurance policy to ensure you have adequate coverage for potential storm damage.
Professional Assistance:
- Public Adjusters: Consider hiring a public adjuster to help document and negotiate your claim, especially for significant damage.
- Legal Advice: If your claim is denied or you face issues with your insurer, seek legal advice to understand your rights and options.
By following these steps and tips, you can effectively document property damage after a Florida storm and increase the likelihood of a successful insurance claim. Proper documentation not only helps you get the compensation you deserve but also streamlines the claims process, reducing stress during a challenging time.
For personalized assistance with your insurance claim, consult a property insurance lawyer at Payne Law. Our experienced team can guide you through the process and help you secure the compensation you deserve.
Schedule a FREE Consultation.
Submit your case details swiftly through our contact form for Payne Law’s prompt review and response.
Error: Contact form not found.


